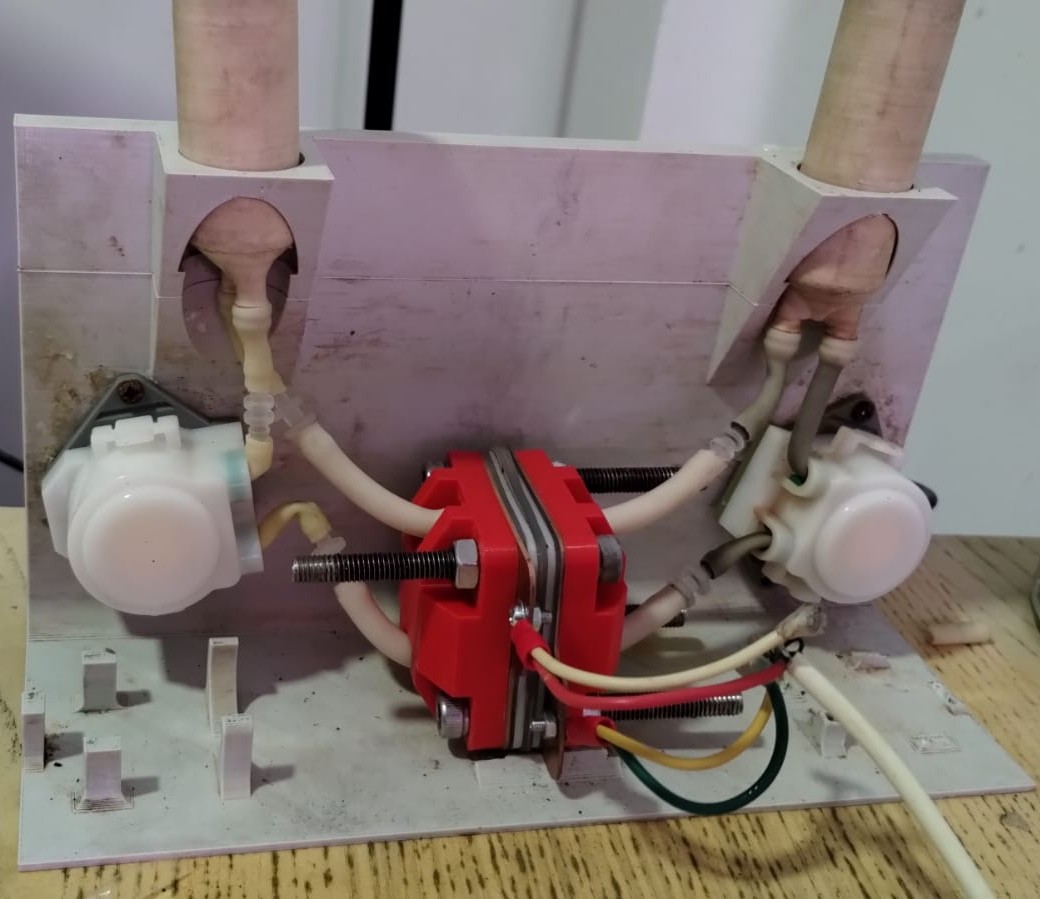
Leak testing the cell

- Mechanical assembly
- Visual inspection
Parts
Tools
- 2 50 mL beakers - or drip tray/other container to hold 10 mL of water
- 1 PC
Chemicals
- 10 grams of deionized water
Step 1: Connect the motor control electronics to PC
Place the assembled test jig on a surface that can get wet in case of possible leakage.
Making sure the motor control electronics are powered, plug the USB cable of the Arduino into the PC and connect to the Arduino using the MYSTAT software.
Warning
Don't get your computer wet!
Step 2: Add water to reservoirs
Add about 5 mL of deionized water to each reservoir.
Step 3: Turn on the pumps
From the MYSTAT software, turn on both pumps at 100% speed.
Step 4: Inspect cell and reservoirs for leakage
There are two types of leakage
External leakage, which is obvious: water coming from the gaskets, reservoir, a faulty connection, etc. The other is internal leakage, when the membrane is not properly sealed, has a hole, or similar, which creates flow between the two half-cells that shouldn't exist. This shows up as a rapid imbalance of volume between the two reservoirs.
Run the pumps for at least two minutes and monitor the internal levels of both reservoirs. They should not change appreciably. If the cell does not show signs of external or internal leakage, great!
Step 5: Empty reservoirs
Grab two 50 mL beakers and space them out so that you can invert the entire jig (with pumps running) and pour out the water from the reservoirs into the beakers. Let the pumps run a few seconds to squeeze the water from the tubing lines and cell body.
Why is this important?
Getting rid of the as much water as possible is important for reproducibility so that we test electrolytes as close to the intended concentration as possible. If extra water was left in the cell, it will dilute our electrolytes slightly which can affect the results.