Operating and testing the cell
- General chemistry laboratory skills
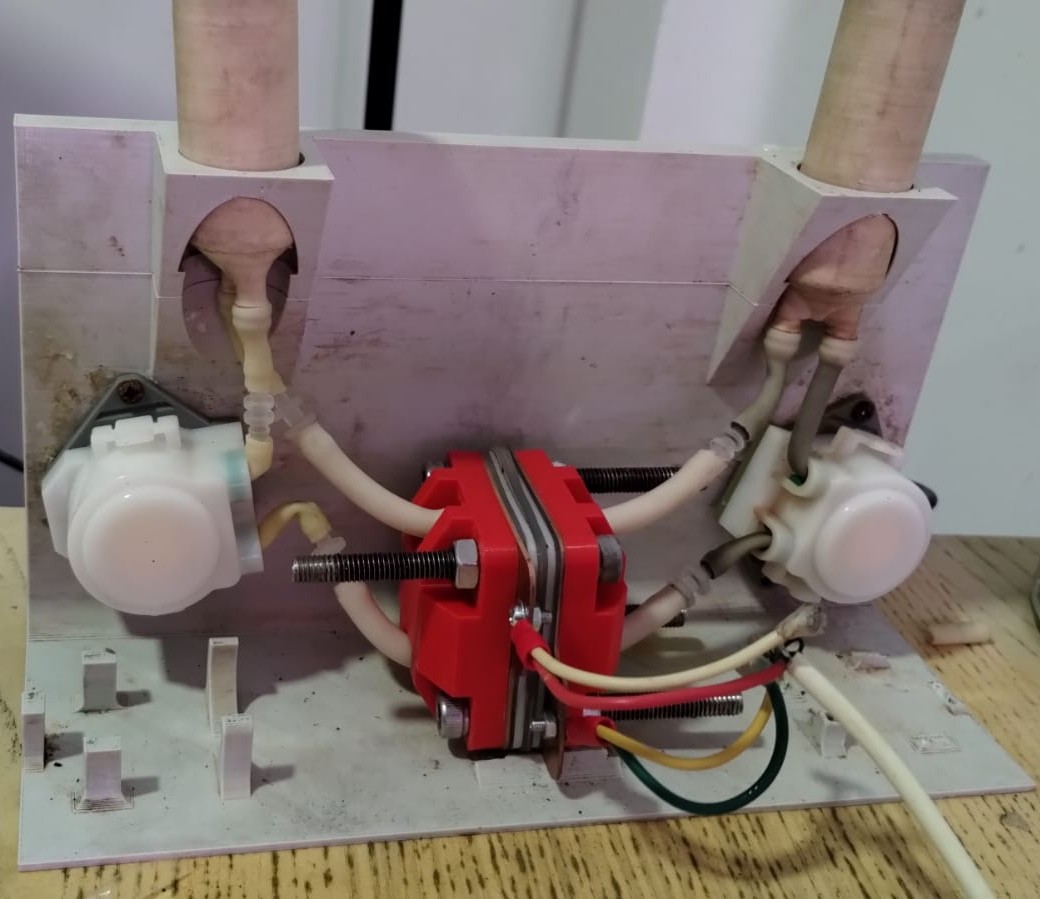
Step 1: Weigh and add electrolyte to the cell
Using a 5 mL syringe and the scale, add 5 mL of electrolyte to each reservoir, weighing the syringe before and after injection to record the actual mass added to each reservoir.
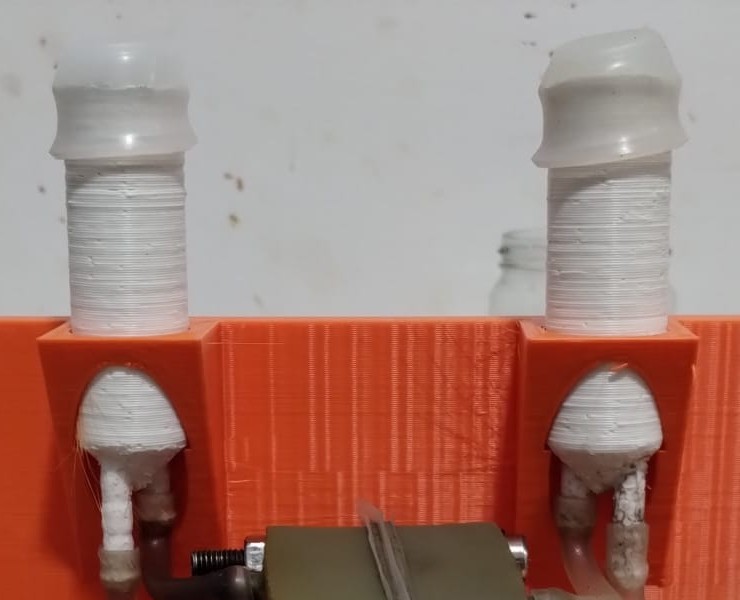
Step 2: Close the reservoirs
Using 19/22 silicone septa, close the reservoirs.
Step 3: Pre-circulate the electrolyte
Turn the pumps on and circulate the electrolytes for 15 min before applying any current.
Note
This should allow enough time for the separator to become fully wetted with electrolyte and clear out any bubbles trapped in the cell/felts.
Step 4: Connect to the potentiostat and define cycling conditions
As a first test, you can run a conservative initial cycle using the following conditions:
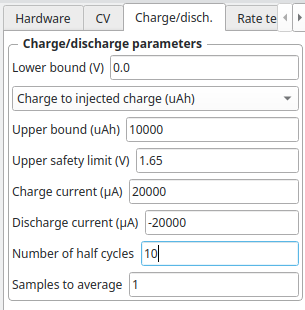
If the cycle ends because the potential reaches the upper safety limit too quickly, reduce the currents to 10,000 µA and try again.
Note
At first the cells can require some time cycling at low SOC at lower current, to build all the Zn nucleation sites. Do not cycle to a potential higher than 1.7V because you will start having undesirable side reactions at this point.
If this cycles successfully, you can then increase the currents to 30,000 µA and repeat, seeing that it goes well.
After that, you can then start going to high SOC values at 40,000 µA. I would recommend first cycling to 100mAh (set "Upper bound" to 100,000 µAh).
Warning
Enclose the battery when cycling to higher SOC - you can put it inside a plastic tub - because leaks due to any problem will spray highly charged electrolyte, which, even if the volume is low, can be dangerous.